Google Website Translator Gadget

Monday, December 20, 2010

Mold Making

After posting the walls someone requested I do a tutorial on how  to make the molds. So here goes.

I start by getting aquarium stones and a suitable base on which to build the master wall.


After wall has been constructed seal it with a layer of PVA glue. If there are any bigger holes in the wall close them with some wall filler.


I stick the masters onto a flat surface, a floor tile works well for this.


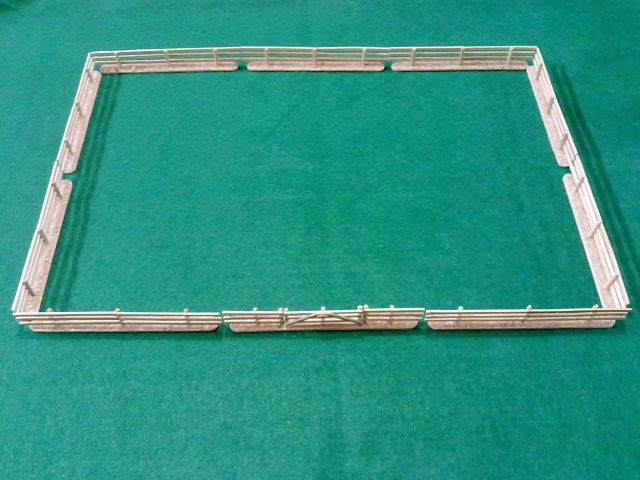
Next I construct a frame with Lego blocks and hot glue it to the tile. The inside of the frame containing the master is then sealed with a layer of rubber latex.


When dry the rubber latex is poured into the frame covering the masters. This is then set aside to dry. When all is dry remove the frame to expose the molds, remove the masters from mold and start casting.


Saturday, November 13, 2010

Stone Walls Update

I have just completed the molds of the gate section and two different straight sections. These photos will show each new section.


The gate section. The gate will be added later and will be made from wood strips.

 
The first straight section.


The second straight section. This section differs from the first section.


A small walled field created using the different sections.


A few Airfix Germans added for scale comparison.


Now I need to get back to casting!!

Saturday, November 6, 2010

Stone Walls

I created a master of a broken stone wall. It was created from aquarium stones on a wooden base. I then made a mold of the master. The master was destroyed in the removal process. Here are a few photos of the cast wall.


This is the production line at present.


This is the mold.


Here I have combined the wall section with the wooden fences for reference.


I am now waiting for the gate section and 2 different straight section molds to set. Will keep you posted.


Trees Update

Trees sprayed green and inserted into bases.


The tree trunks still need to be painted and the trees still need to be flocked.

Sunday, October 24, 2010

Trees

I am currently busy making trees as seen on the following blog http://paulsmodelrailroad.blogspot.com/2010/08/trees.html I base all my tree on Hexagonal bases and will be showing you these as well.


The hexagonal base is 3mm thick MDF board and the tree trunk is a 6.5mm plastic tube cut to various heights.


Here the trunk has been inserted and the base covered with gravel.


Here are the various shapes single, double and triple painted in brown. The tree trunks still need to be textured and painted and the bases still need to dry brushed and flocked.


This is how the tree looks after shaping.


With this tree I experimented with tea leaves as the flocking material, I must say I am quit pleased with the outcome. An excellent looking Autumn tree!


Here is another experiment, I have just sprayed this tree green and I think it looks good for Summer.


This is my forest in waiting.


and another...

I will keep you posted as I go along.

Saturday, October 2, 2010

Wednesday, September 22, 2010

Wooden Fence

Most battlefields need fences so I thought I would make some.

The photos are self explanatory.


All that remains now is to undercoat, paint and flock. I ran out of undercoat spray therefore I'll be stopping here for now.

Tuesday, September 14, 2010

Roof

I am busy completing my row of townhouses roof and thought to share some photos of the process.

I start off with the frame of the roof. These are the roofs for the dormer windows which are on top of the main roof.


I then cut strips of cereal box to required size.


I then glue them to the base frame.


After all has dried I trim the edges.


The next photo shows the main roof, made in the same way with the dormer windows roofs attached.


Here is a front view.


Here is a front view of the townhouse with roof attached.


Here is the rear view.


The dormer window frames still need to be inserted and the roof needs to be sprayed black and then dry brushed with the various shades of grey.